Cropping, enhancing and applying style to your campaign images.
A stylish image editor has been added to the new campaign editor; you can now crop your images, enhance their colors, add filters and more. Read on for all the image editing goodness.
First, click on an empty image block in your campaign, and add an image from your desktop or image library, or from Facebook or Flickr. Then, click to Edit this image.
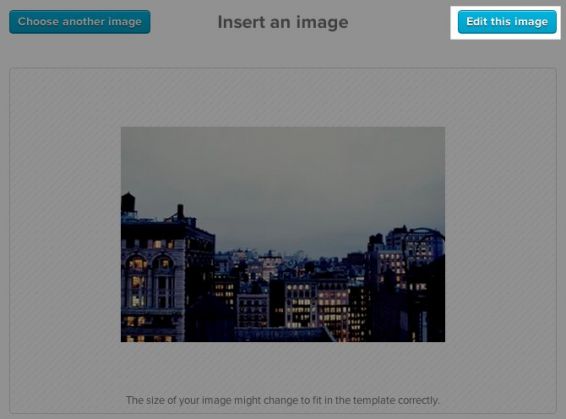
This will open up the image editor, and you’ll see its options across the top:

Here’s a quick breakdown of each feature, along with some examples:
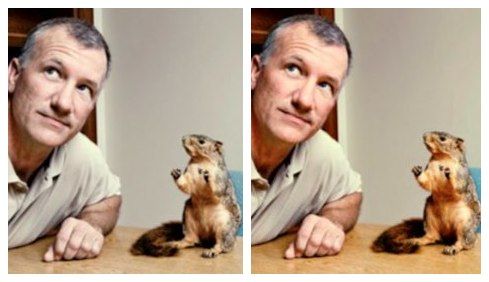
Enhance. Use this tool to enhance your image’s brightness, or adjust it for nighttime, backlighting or color balancing.

Effects. Apply any of ten filters, from Indiglow to Laguna, to your image.

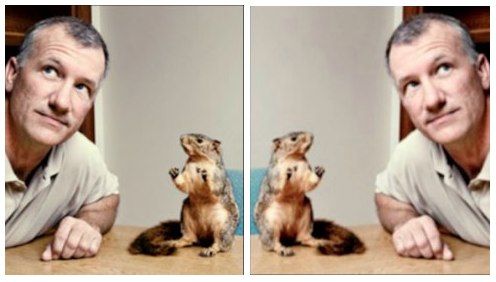
Orientation. If you’d like to rotate your image or display its mirrored version, use this tool.
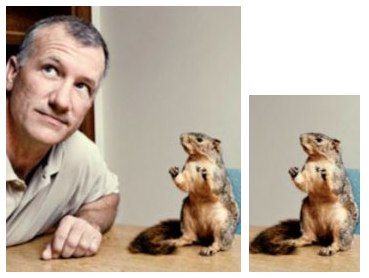
Crop. The crop tool allows you to change your image’s focus to a square, a customized size or a size based on a set ratio.
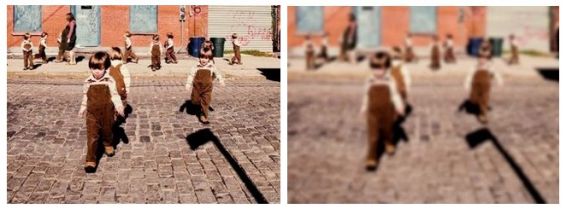
Brightness, Contrast, and Saturation. Use one of these three scales to adjust the colors in your image.
Sharpness. This scale allows you to sharpen or dull your image, based on your preference.
Draw. Choose a pencil width and color to add notes and doodles to your image.
Redeye. Use this tool to eliminate red eyes in your photo.
Whiten. Make teeth, skylines and more as white as can be with the whiten tool.
Blemish. Erase blemishes and inconsistent textures with this tool.